- Home Page
- RV Digital TV Tips
- Step By Step Guide to Mounting a Tv in an Rv
Step by Step Guide to Mounting a TV in an RV
Here is a great step by step guide to mounting a TV in an RV will help you install it like a professional
If you plan on zipping across the country in your trusted RV, then the television can be an excellent co-passenger to prevent you from slipping into the clutches of boredom. Additionally, it is a wonderful addition to make your RV feel like home. Mounting a TV in your RV may seem like a mammoth task. However, with the right set of tools and equipment, paired with this step by step guide to mounting a TV in an RV, you can have your TV up and running in just a couple of hours!
Here is a complete guide on how to make it happen!
Why Must You Get a Flat Screen TV for Your RV?
If you own an older model, then your RV might come equipped with the standard box slots to contain an old CRT TV. Yes, there was a time when CRT TVs were very much in the rage. You might even have one mounted as a keepsake! However, its use and popularity have dwindled in the past few decades.
So, of course, if you plan to deck up your RV with a TV, it makes sense to install a Smart TV. We are living in the time and age of smart TVs that can directly stream Netflix, Disney+, YouTube etc.! So, it’s about time to upgrade your RV's interior with a modern, flat-screen TV.
If you need any more convincing, here are a few reasons to invest in a flat-screen TV:
- It is lightweight as flat-screen TVs only weigh a mere fraction of their old CRT counterparts.
- With the influx of HD, 4k UHD flat-screen TVs are a visual upgrade
- Flat-screen TVs are lightweight and compact, allowing greater flexibility for mounting these on any surface of your RV.
General Information on the Types of Mounting Brackets
Before you get started with mounting your flat-screen TV, you need to get an idea of the diverse types of mounting brackets, along with their advantages. Here is an overview of the same:
Flat Wall Mounts
Flat Wall mounts, otherwise known as Flush TV Mounts, are best suited if you want to pull off a clean, minimalistic look. Some flat wall mounts come with movable pieces that add tilt to its functionality. The tiltable mounts are best if the slot for TV is not at eye level, and you wish to enjoy a comfortable viewing angle.
Articulating Mounts
Articulating mounts are one of the most common mounts for flat-screen TVs in RVs. Its compactness, paired with its ability to extend from surfaces and to tilt from side to side, making the TV viewable from every angle. However, you will have to restrain it while the RV is in motion.
Full Motion Mounts
Full motion mounts are an upgrade to your articulating mounts, which cannot swivel up and down. These mounts allow your TV to move in all four directions, sometimes even extending up to 360-degrees! However, it is also one of the most expensive TV mounts out there.
Flip Down Mounts
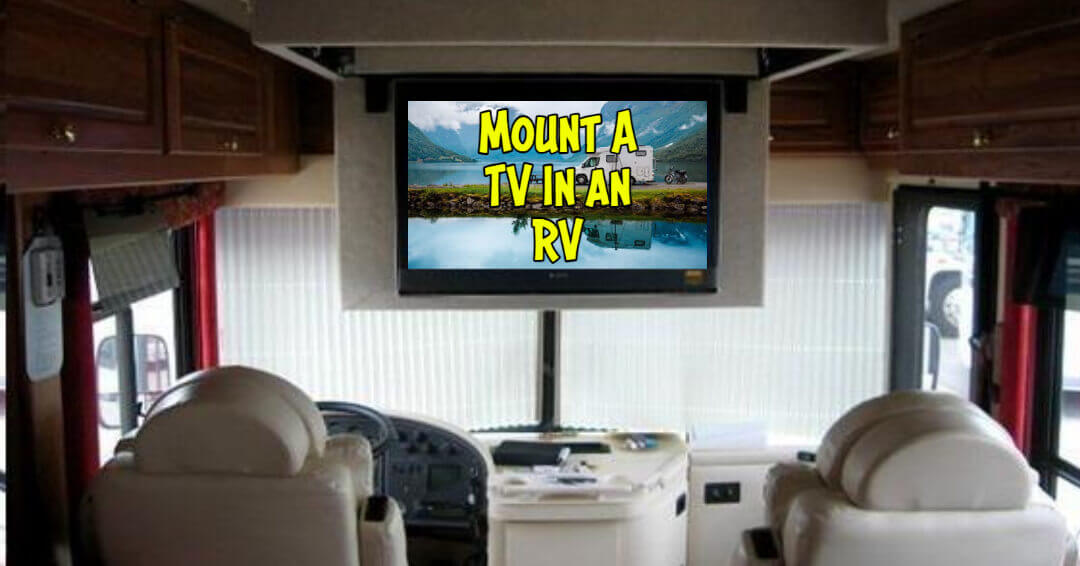
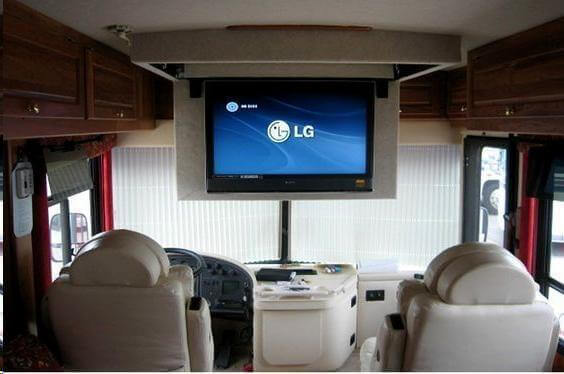
A flip-down TV mount is perfect if you want to keep your TV in a discreet location without ruining the aesthetics of the surroundings. Apart from blending in, it also saves you space. These also offer flexibility for adjusting your viewing angle. Overall, it is one of the most practical ways to mount your TV at your RV’s focal point - above the dashboard.
Under Cabinet Mounts
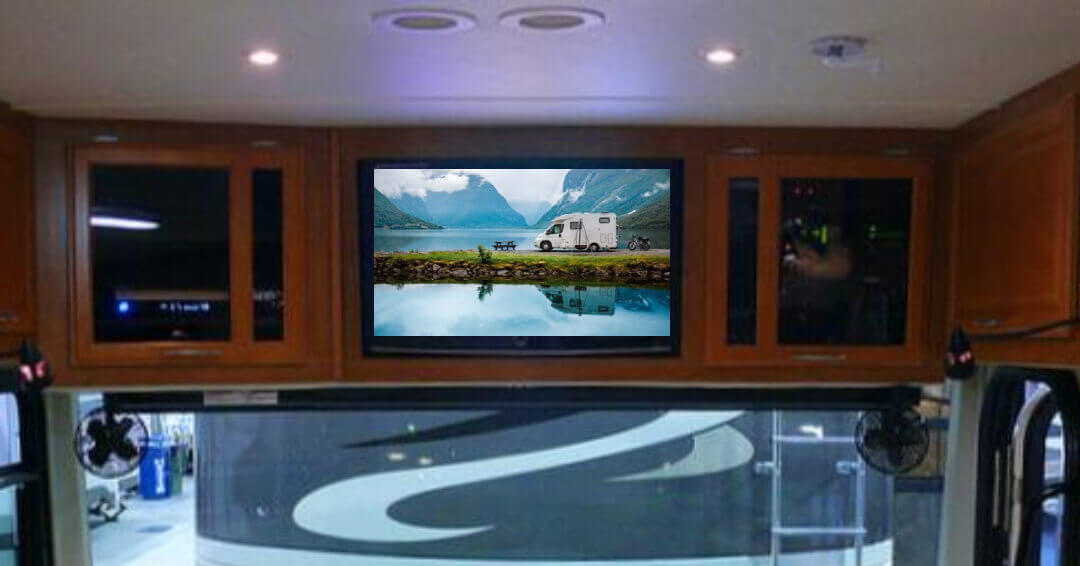
If you have a small flat-screen TV measuring about 10 to 24-inches, then you can mount it under the kitchen cabinets or overhead storage cabinets. You could even install these inside shelves for space-saving. Some cabinets are stationary, while others are motorized units that move your TV in or out of the space.
Step by Step Guide to Mounting a TV in an RV
Once you have decided on the kind of TV mount, get hold of the accessories and tools that you would need to mount your flat-screen TV. Depending on your selection, you would require additional components, such as a motor for the motorized TV mount, and so on.
Here is a step-by-step guide on how to install a flat-screen TV in your RV using a TV mount:
1. Start by measuring the space where you wish to install your TV. If it is inside of a old CRT TV box, ensure that your TV is a perfect fit.
2. After identifying the location, check for the depth or angle of movement, and clear the area. Make sure that the space required for the TV does not clash with any other part/appliance/equipment.
3. With the above consideration, figure out the framing to hold your TV and the ideal spot for securing your mount. Even if the area looks robust enough to support your TV, a little assistance from the frame goes a long way.
4. Use a 3/4" thick plywood and cut four pieces of 2x4 frames. Set two aside as your horizontal mounts and two as your vertical support.
5. Install the vertical beams using 3” wood screws with at least four screws at every corner of the mount.
6. Place the horizontal frames according to your TV positioning and mark the location for installing the wall mount in the middle of the frames. If the wall mount has three placeholders for the bolts, position the side with the two bolts on the top.
7. Use the 1/4" drill bit to pre-drill the holes for the wall mount.
8. Secure the horizontal beams first, and then install the wall mount.
9. Finally, attach the TV to the wall mount.
Conclusion
Thanks to the advancements in technology, you can carry your entertainment with you everywhere you go. As TVs become cheaper, lighter, and more compact, you will find it easier to get one for your RV. All you need is the perfect kind of mount to install any kind of TV of your choice painlessly!
I hope that this step by step guide to mounting a TV in an RV helped you install it like a professional
Do you have any suggestions or comments on this topic? You can add them to this page by using the comments section located below.


Comments
Do you have a comment on this topic? You can leave your comment in the box below.