- Home Page
- RVing Tips & Tricks
- Rv Water Filtration
The Basics of RV Water Filtration: Navigating the Options
Deciding which water filter to use can be confusing
By Keith Bernard
CEO CLEAR2O®
You just purchased an RV or finally decided to improve your water filtration needs.
This may sound obvious, but before you invest in a major system, see if your coach is already fitted with a filter system. Look in the wet bay (if you have one), or in the rear storage bay, or under the bathroom or kitchen sink (it could be elsewhere, so look everywhere). If you find one, follow which pipes are connected. For example, sometimes the filter set up is only to filter the water from your tanks and not the inlet water port which goes directly into the coach. The ideal scenario is to ensure that both your tank water and inlet water are filtered for the purest, highest-quality water.
There is a long list of filtration products; deciding which one(s) to use can be confusing. So, assuming you have found no filters installed in your RV, let's start with the basics:
MICRON SIZE
Micron (µ) size is the unit of measure for filtration. One fact about filters that is universal: the smaller the micron size the more impurities the filter takes out, so lower is better.
WATER FILTER PITCHERS
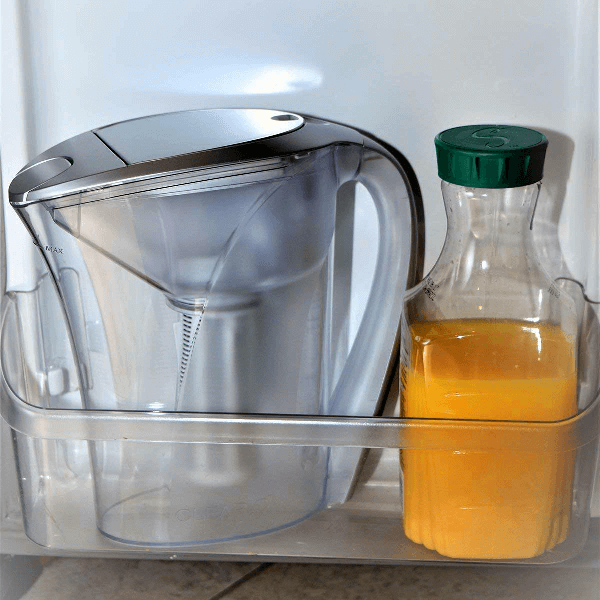
If you are only interested in filtering your drinking water, you can do this quickly and easily by buying a water filter pitcher to keep in your RV. There are numerous brands; make sure you pick one that focuses on heavy metals and Volatile Organic Compounds (VOC) to rid the water of the iron and sulfur taste and smell. Granular activated carbon (GAC) filters do a poor job, solid-block carbon is by far the better medium. This is true for virtually all filtering products, not just water pitchers.
INLINE FILTER
Learn How to Stop Sediment from Ruining Your RV's Inline Filter
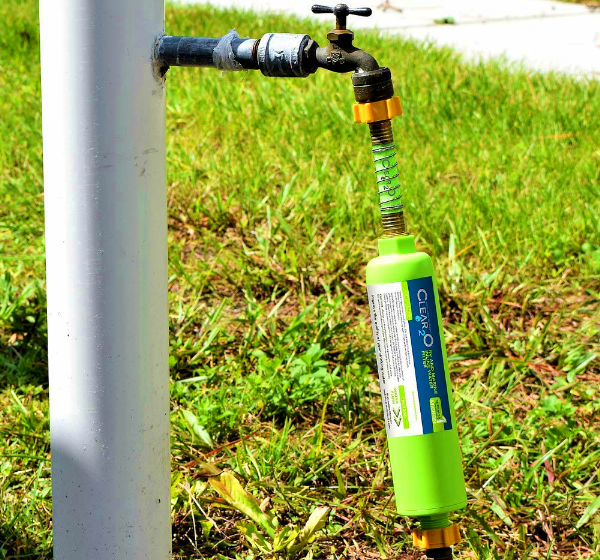
If you want filtered water for your whole coach (recommended), pick up an inline water filter that attaches to your campsite spigot and drinking water hose and connect it to your RV. We suggest mounting the filter near the spigot, but if you insist on mounting on the coach water inlet, make sure to use a flexible hose or 90° angle hose fitting. This will allow the heavy filter/hose to hang straight down and not exert too much pressure on your water inlet fitting. You can purchase an inline filter, and any needed hose fittings, at most RV centers and camping websites, as well as on Amazon. Depending on the quality of filter purchased, you can use water for most purposes; if you purchase a high-quality filter, you can safely use it for drinking water. This is by far the easiest solution, and you can be up and running for your next trip in no time.
Editor's Note: The video below gives you more information on the CLEAR2O® RV and Marine Inline Water Filter.
SINGLE CANISTER FILTER
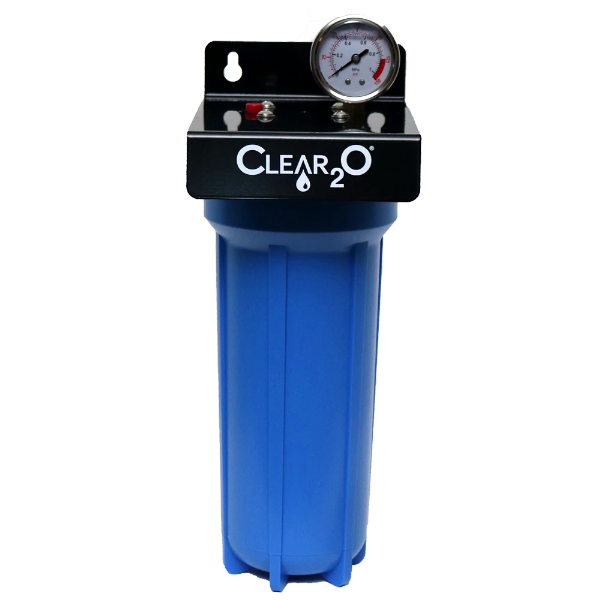
Many coaches already have a single canister filter system installed. This type of system can be mounted anywhere, although it is usually nearest to the water inlet, so water is filtered on the way into the coach. All that is needed for this approach is a multipurpose universal fit filter. Most universal filters for this type of filtration are 10"x 2.5".
If you're not going to drink the water, you can just use a sediment prefilter. It does nothing to the taste or odor of the water: it just blocks large particles about 10-20 microns in size. A prefilter will help to dramatically reduce any issues caused by sand, silt, or sediments entering your water system and clogging your plumbing.
You can also install a carbon filter that will help to improve the taste and odor of the water, and help to remove any contaminants, such as chlorine, through absorption. Multi-stage filters - a combination of both prefilter and carbon filters - are also available. However, they do neither very well, so you may want to change them often, just to ensure you're getting the freshest-tasting water.
DOUBLE CANISTER FILTER
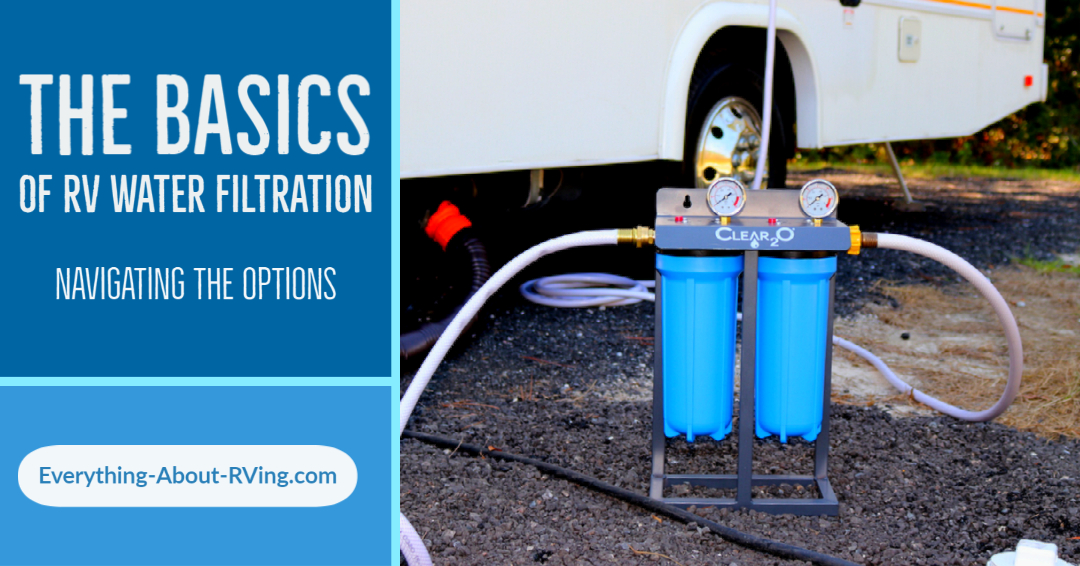
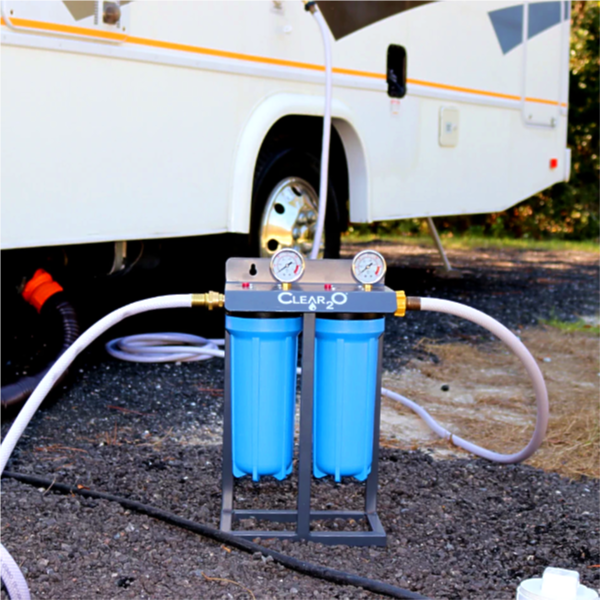
A double canister system allows you to gain all the benefits of a prefilter combined with all the benefits of a carbon filter. You'll protect your system while improving the quality of your drinking water. We recommended a 10- to 20-micron prefilter in conjunction with a 5-micron (or lower) carbon filter.
These systems are used outside of the coach, attached to both the spigot and the coach's water inlet. Or it can be mounted inside the wet bay or storage bay nearest your water inlet. To do so, you will need the fittings necessary to hook up to the cold-water side of your internal plumbing. DO NOT hook up your filter to the hot water side, since hot water can cause your filter to release the contaminants it has already trapped.
MULTIPLE FILTERS
You can probably guess that more filtration is better than less, and each level helps to reduce more contaminants. So, you can use an inline filter along with your internal filter or add a second single canister to one already installed. The key is to add the right filters according to your planned use of the water. There is no need to start over, just add to your system to increase your level of filtration.
FILTER CHANGE
Change your filter if you experience a 20% drop in water pressure, which means the filter is reaching its capacity. (NOTE: Add a prefilter to your system if you experience ongoing clogging; it is probably sediment in your water being trapped by the filter that is causing the issue.) Another good rule of thumb is to change your filter every six months regardless of use. This will ensure that your system is always providing optimal filtration.
About The Author
Keith Bernard is president and CEO of CLEAR2O®, one of the leaders in water filtration technology and products. The company's line of products includes filtered water bottles, pitchers, in-countertop filtration, whole-house filtration and on-the-go RV filtration systems.
Do you have any suggestions or comments on this topic? You can add them to this page by using the comments section located below.
