- Home Page
- RVing Tips & Tricks
- Dewinterizing
Dewinterizing and Prepping your RV for the Spring & Summer
By
Isaac Christiansen
While spring is still around the corner, it’s never too early to go through the checklist and make sure you and your RV are prepared for that first warm day. To help you get started, follow our checklist below to de-winterize your RV for the spring and summer months.
Dewinterizing your RV in the spring can be easy if you follow these steps
Exterior
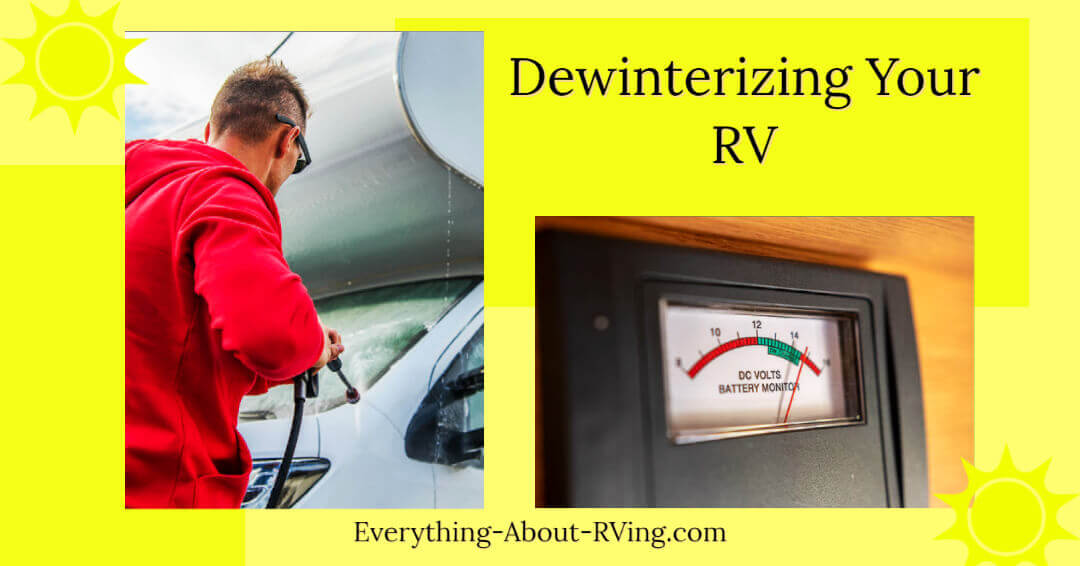
Taking your RV out of storage means wiping down debris and gunk that covering the exterior of the vehicle. You should first use car soap to clean off your RV, but you may also need to use a tar and bug remover to loosen up additional layers of dirt, depending on how filthy it is. However, you should also clean off your awning to prevent any stains or mildew from setting in as well.
When checking your RV’s exterior, it’s important to inspect it for water leakage. Check the roof, doors, windows, and vents to check for any cracking that needs caulking. You should also be inspecting the damage on your RV, such as broken lights, hubcaps, awning, etc.
Batteries
Since RV batteries can decrease in charge by nearly 10 percent a month in storage, you’ll need to make sure they’re recharged before using your RV again. To check your batteries, make sure that you disconnect the shore power and turn off all your RV power.
Next, check to see if your battery connections are clean, and not corroded. If they are corroded, clear them off with hot water and baking soda. However, you should also check to see if there are noticeable cracks in your RV’s batteries from winter storage. If so, you should safely replace them.
If your battery charge is low, charge them while checking the fluid levels, and add distilled water if necessary. However, keep in mind that only lead-acid batteries need water, and should be filled after they’re fully charged.
Tires
On average, RV tires lose two to three psi a month while being kept in storage. You should check your RV tires each month for lost air pressure, as well as cracks on the treads and sides. To inflate your tires to the proper tire pressure, consult the tire brand’s weight chart. Although this is the simplest step of taking your RV out of storage, it is also one of the most overlooked.
Interior
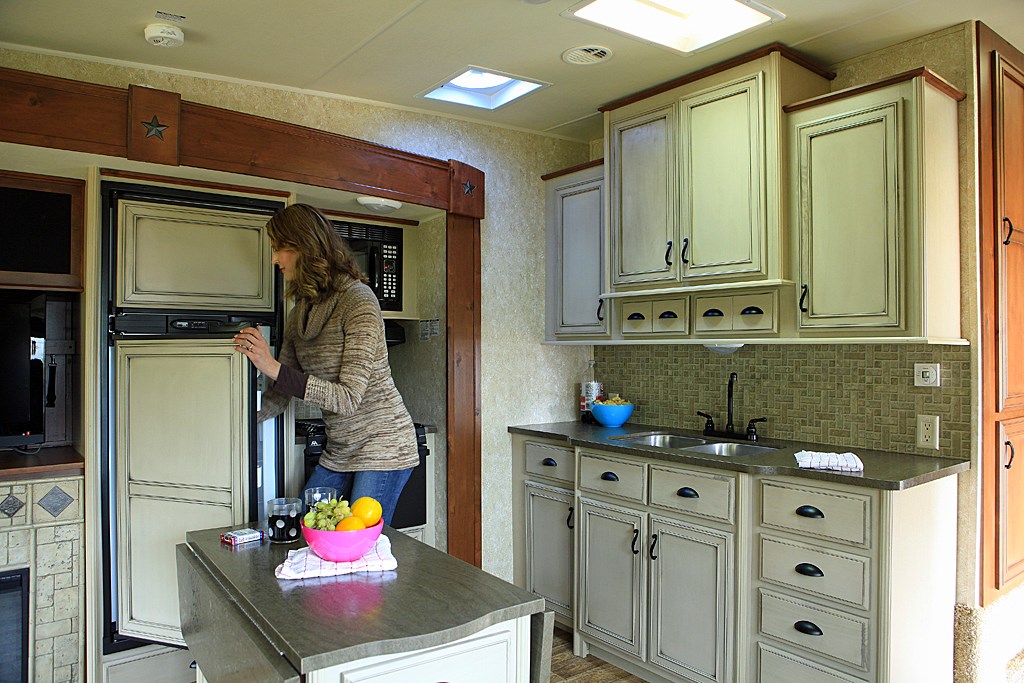
Now that we’ve covered the exterior of your RV, it’s time for the interior. This involves cleaning the inside of your RV of any rodents, spider webs, insects, and dust. You should also air out your RV and check for interior damage, such as water leaks, discolored panels, and other signs of damage. Also be sure to check the state of the fridge and water heater, make sure they’re both still fully functional.
Good Sam members enjoy instant discounts on fuel. Join Today!
RV Fresh Water System
Check your RV’s freshwater system for leaks or other damage. Change the water heater’s bypass into the “normal” position, turn on the hot and cold water, and check the pipes and faucets for any leaks. However, if you used a non-toxic RV antifreeze solution to store your RV’s freshwater system, you’ll need to empty it completely.
Propane System
You should also check your propane system’s seals and hoses to make sure they have not dried out or cracked. Before you begin, turn off all the LP items, turn on the leak detector, and refrain from smoking. Open the tank’s valve. Smell around for leaks. Also, apply a soap and water solution onto the regulator and valve. Look out for bubbling and spurting.
You should also be on the lookout for signs of damage from rodents and other pests. Then clean the LP gas appliances and test them by letting them run for a bit. If you notice a leak, shut off the propane and call a professional to assess and fix the leak.
Appliances
Make sure all your electrical appliances work
including your microwave, ice shaver
machine, and any other appliance. Don't forget to also
check the outside access covers for the refrigerator and water heater. Clean
them off and remove any leaves or debris.
Dump Hoses
There's nothing worse than dumping your waste and
discovering you have a leak. Look for leaks and holes in your sewage dump hose
and patch them up.
Waste Tank Valves
Lastly, you should look over the seals on your waste tank valves. The first step is to ensure the waste tank is empty. It is wise to complete this check when your RV is connected to a dump station. To test the valve seal, turn the handle by small increments and ensure that it is functional. Add valve lubrication if the handle sticks. This will also improve the seal.
With these nine tips, you can dewinterize your RV and get prepared for all your upcoming adventures. Taking the time to prepare now can save you a lot of trouble during your first trip of the season.


